The one wire that can fry your ESP32 tank monitor
A turbidity sensor runs on 5 V and outputs up to about 4.5 V, but an ESP32-C3's pins only take 3.3 V. Here is why it needs a voltage divider, how to wire it, and the checks to do before you plug in USB.
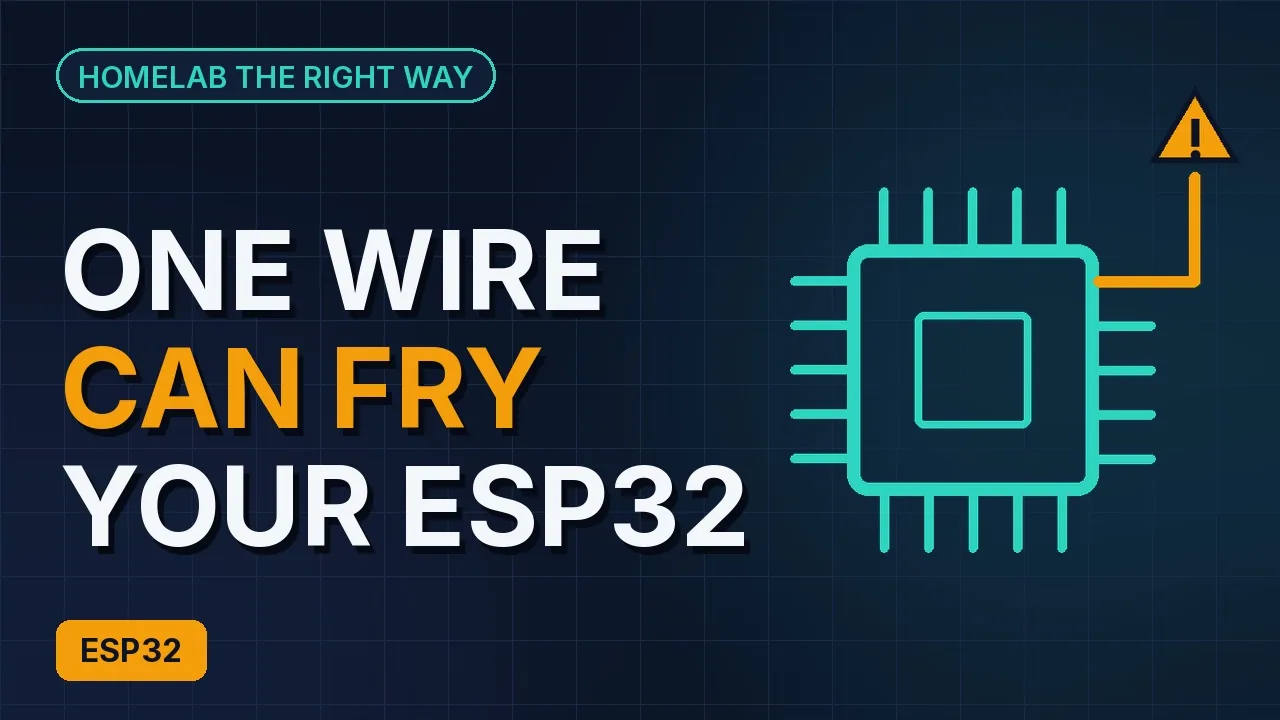
A water-quality monitor for an aquarium or turtle tank is a great first ESP32 project: a temperature probe, a TDS probe and a turbidity (water clarity) sensor, all reporting into Home Assistant. Two of those three sensors are easy. The third one has a wire that can kill the board if it goes in the wrong place.
This walkthrough uses the Seeed XIAO ESP32-C3, the board used in the Smart Turtle Tank build, but the rule applies to any 3.3 V microcontroller.
The rule that keeps the board alive
Two voltages come out of the XIAO:
- 5V is the USB supply passed straight through.
- 3V3 is regulated down for the chip.
The chip's pins can only take 3.3 V on their inputs. So the rule is simple: a sensor's power can come from 5V if it needs it, but anything that goes back into a D pin must be at or under 3.3 V.
The DS18B20 temperature probe and the TDS board both run happily on 3.3 V and produce signals under 3.3 V. The turbidity board is the odd one out: it needs 5 V to run and its output can reach about 4.5 V. That is the wire that can fry your board, and it is why the turbidity sensor is the one with a voltage divider between it and the XIAO.
A common mistake is plugging a sensor into 5V "because it is more power". The TDS board and the temperature adapter are powered from 3.3 V precisely so their signal pins stay under the XIAO's limit. More volts in means more volts out.
What the divider does
A voltage divider is two resistors in series. The output is taken from across the smaller one, so the voltage is split in a fixed ratio. The divider module used in this build divides by 5, so a 4.5 V signal comes out at 0.9 V: safe for the pin.
The trade-off is detail. The XIAO reads analog accurately only up to about 2.5 V, and 0.9 V uses about a third of that range. For more resolution you can swap in two 10 kΩ resistors as a ÷2 divider, which keeps the output under 2.25 V. Either way, you multiply the reading by the ratio (5 or 2) in code.
The divider module's labels confuse almost everyone the first time:
| Label on the module | What it actually is |
|---|---|
| VCC screw terminal | The input (IN+) |
| GND screw terminal | IN− |
| S pin | The divided output |
| − pin | Ground |
Wiring the turbidity sensor
Keep the USB-C cable unplugged the whole time you wire. It goes in last.
Part 1: power the sensor and feed its signal into the divider
- Slide the switch on the turbidity board to A (analog), not D.
- Plug the included 3-wire cable into the board, and connect the probe.
- Red jumper from the XIAO's 5V pin to the cable's V pin. This is the only 5V wire in the build, and it skips the breadboard power strip.
- Cable's G wire into the ground (−) rail.
- Cable's S wire into the divider's VCC screw terminal (the input). Tighten it and give it a gentle tug.
Part 2: ground the divider and send its safe signal to D2
- Ground jumper from the − rail to the divider's GND terminal.
- Ground jumper from the − rail to the divider's − pin.
- Signal jumper from the divider's S pin to the XIAO's D2.
- Leave the divider's + pin empty.
Only the clear lower part of the probe goes in the water. The top of the probe and every board stay dry.
Never plug the turbidity S pin straight into the XIAO.
Check everything before you power up
With the USB still unplugged, go through this list:
- The turbidity switch is on A.
- The 3V3 (+) rail has three wires: XIAO 3V3, temperature adapter VCC, TDS +. Nothing from 5V.
- Only one wire on 5V, going to the turbidity board's V.
- Turbidity S goes to the divider, not to the XIAO. D2 connects to the divider's S pin.
- Signals: D4 to the temperature adapter's DAT, D1 to the TDS board's A, D2 to the divider's S.
- No bare metal touching anything it should not. Every board is dry and above the water line.
- Each cable hangs in a small U-shaped drip loop below the electronics, so water runs off the bottom of the loop instead of into the boards.
Then plug in USB. Nothing should get warm and nothing should smell; if it does, unplug right away and recheck the 5V and GND wires.
Another common mistake: plugging the USB in "just to see the light" halfway through wiring. Every wire you add after that goes onto a live board, and a jumper that brushes 5V against a signal pin on its way in can take out the whole board. USB last, every time.
Two readings that tell you something is wrong
Once firmware is loaded, temperature should show a sensible number, TDS reads near zero in air and a steady number in the tank, and turbidity reads higher in clear water and drops when the water gets cloudy.
Two problems catch almost everyone:
- The temperature reads 85 °C. That is the DS18B20's power-on value, which means it never got a successful read. It is usually a loose DAT wire.
- Turbidity is flat no matter what the water does. The board's switch was left on D (digital) instead of A.
Get the one 5V wire right, put the divider in the turbidity signal path, and plug in USB last. The rest of the build is forgiving.